Top Guide How to Replace Office Chair Gas Lift Cylinder

Time:2026-09-15 Author:Sienna
0%

Replacing a worn office chair cylinder looks simple until the seat refuses to move. A stuck mechanism can hide beneath years of dust, paint, and compressed metal. This guide explains how to replace office chair gas lift cylinder safely, clearly, and with realistic expectations.

Alan Hedge, an ergonomics specialist and professor emeritus at Cornell University, said, “The chair should fit the person, not the person fit the chair.” That principle matters here. A failing cylinder may leave the seat too low, too high, or slowly sinking during work. The correct replacement should match the chair’s measurements, base opening, and weight capacity.

You will need a pipe wrench, rubber mallet, penetrating oil, gloves, and a stable work surface. Do not drill, cut, or heat the old cylinder. Pressurized components can behave unpredictably. Turn the chair upside down, remove the base carefully, and protect the floor with cardboard. The cylinder may separate quickly, or it may resist for an annoying amount of time.

A practical warning deserves attention. Many guides make removal look effortless. It is not always effortless. Some cylinders require repeated tapping and patience. Others may damage a plastic base if struck carelessly. Check the replacement before removing anything, and photograph the mechanism first. That small step can prevent confusion later.

This guide focuses on controlled removal, correct installation, and final stability testing. After assembly, raise and lower the seat several times. Sit down gradually. If the chair tilts, drops, or feels loose, stop using it and inspect every connection. A few minutes of caution can protect your floor, your chair, and your back.
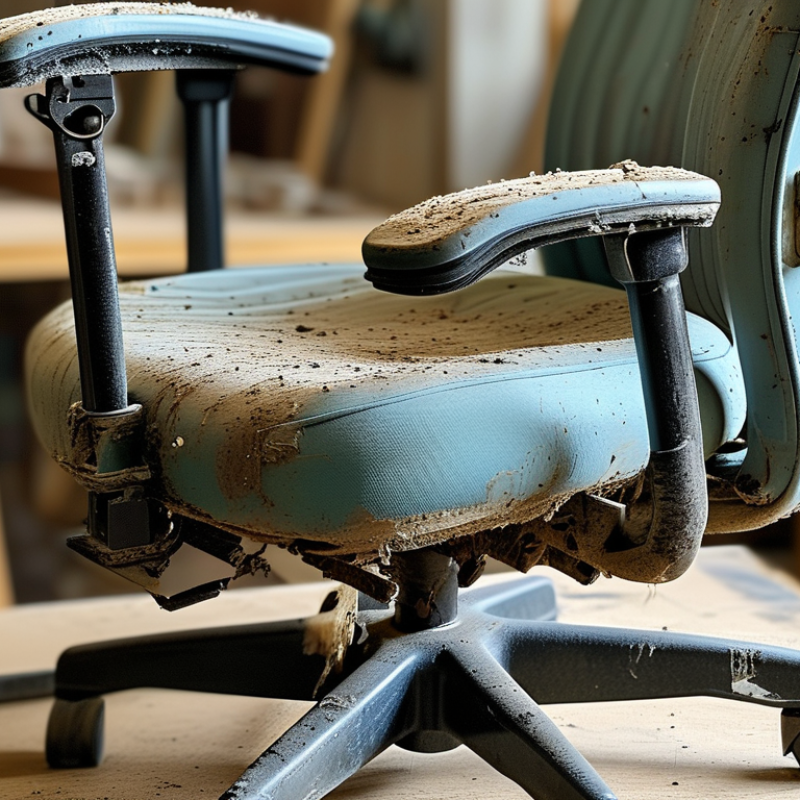
Top Guide How to Replace Office Chair Gas Lift Cylinder

Understanding Office Chair Gas Lift Cylinders and Replacement Safety

Top Guide: How to Replace an Office Chair Gas Lift Cylinder

An office chair gas lift cylinder controls height through compressed gas. It is not a simple metal tube. Inside, pressure can remain even after the chair stops moving. Treat it as a pressurized component. Never drill, cut, heat, or crush the cylinder. That shortcut can cause serious injury.

Before replacement, unplug nearby equipment and clear the floor. Wear safety glasses and sturdy gloves. Turn the chair upside down on a padded surface. Remove the seat mechanism according to its fastener type. Keep your fingers away from pinch points. A rubber mallet can loosen the cylinder, but strike the chair base carefully. Do not hammer the cylinder itself. I have found that slow, controlled force prevents damage better than repeated hard blows.

Check the new cylinder’s height range, mounting dimensions, and upper and lower fittings. A similar-looking part may still fit poorly. Measure the old cylinder before ordering. Inspect the five-star base for cracks, bent sockets, and worn casters. Replace damaged parts instead of forcing a new cylinder into them. Keep the cylinder upright during handling. Some replacement instructions are vague, and that is worth questioning. If the old cylinder will not release, stop and use a qualified repair professional. After installation, test the chair without sitting fully on it. Lower and raise it several times. Then sit carefully, check for wobbling, and listen for unusual clicks or hissing. Don’t rush this part.

Gathering the Required Tools and Preparing the Workspace

Replacing an office chair gas lift starts with a prepared workspace, not force. Clear a flat floor and place thick cardboard beneath the chair. This protects the base and prevents small parts from rolling away. Use bright lighting, especially around the cylinder connection. I prefer working near a wall, where the chair can rest safely without sliding.

Gather an adjustable wrench, pipe wrench, rubber mallet, work gloves, safety glasses, and a small tray for screws. Keep a clean cloth nearby for grease and dust. Take photos of the chair’s underside before removing anything. They can prevent confusion later. Do not cut, drill, or open the gas cylinder. It contains stored pressure. If the cylinder appears bent, cracked, or heavily corroded, replace it rather than forcing it. I once skipped the photo step and spent extra time checking the correct orientation. That mistake was avoidable.

Tips:

Lower the seat before turning the chair upside down. Remove loose accessories first. Ask another person to steady the frame if it feels unstable. Tap the cylinder joint gently with a rubber mallet, then test it with controlled pressure. Avoid striking the cylinder itself. A small amount of penetrating oil may help with a seized joint, but wipe away excess oil before handling the chair. Wear gloves, though they can make small parts harder to grip. Adjust your grip carefully.

Removing the Old Gas Lift Cylinder from the Chair

Removing an old office chair gas lift cylinder requires patience, not force. I have replaced several cylinders, and the base often creates the most trouble. Begin by clearing the workspace and placing the chair upside down on a padded floor. Protect the seat fabric from scratches and pressure.

Remove the retaining clip, washer, or cover beneath the seat mechanism, if fitted. Some chairs use only a tight friction fit. Hold the five-star base firmly, then pull and twist the cylinder from the mechanism. A rubber mallet can loosen the joint. Tap the metal housing gently. Never strike the narrow piston rod.

Wear gloves and eye protection. The cylinder is sealed and may still contain stored pressure. Do not drill, cut, crush, or heat it. Those shortcuts can cause serious injury. A pipe wrench around the wider cylinder body may provide better grip, but protect nearby parts with a thick cloth. Apply a small amount of penetrating oil around the joint and wait several minutes.

Work slowly.

I once focused too much on pulling downward and damaged the chair base edge. Rotation worked better. If the cylinder remains fixed after careful attempts, stop and seek help from a qualified repair technician. Inspect the seat mechanism and base for cracks before installing a replacement. A worn joint may indicate a larger safety problem, not just a stubborn cylinder.

Installing the New Gas Lift Cylinder Correctly

Installing a new gas lift cylinder correctly requires patience, accurate alignment, and controlled force. Before starting, place the chair upside down on a padded floor. Wear gloves and eye protection. Check that the replacement cylinder matches the chair mechanism and base opening. Do not drill, cut, heat, or open the pressurized cylinder.

Insert the cylinder’s wider end into the five-star base. Guide the narrower end into the seat mechanism. The tapered fittings should sit straight and evenly. Remove any shipping sleeve only when the installation instructions require it. Avoid hammering the cylinder itself. If the fit is tight, tap the base or mechanism gently with a rubber mallet while supporting the chair frame. A few firm taps usually seat the taper securely.

Turn the chair upright and press down firmly on the seat several times. Your body weight helps lock the tapered connections. Test the height lever while keeping the chair empty. Then sit carefully and check for wobbling, slipping, or unusual sounds. Stop using the chair if the cylinder moves separately from the base or mechanism. I once rushed this step and left the cylinder slightly tilted; the chair felt unstable until I corrected it. That small mistake was avoidable. Recheck every connection before regular use.

Testing the Chair and Troubleshooting Common Problems

After replacing an office chair gas lift cylinder, test the chair before regular use. Place it on a level floor and check every base leg for movement. Lower the seat fully, then raise it slowly several times. The cylinder should move smoothly without grinding, sudden drops, or oil leakage. Sit down gently, not by falling into the seat. ANSI/BIFMA X5.1 includes repeated-cycle testing, with durability checks commonly reaching 120,000 cycles. A home repair cannot reproduce that laboratory load, so careful observation still matters.

Test the tilt mechanism separately. Lock and unlock it while leaning back gradually. If the chair sinks, the lift may be incorrectly seated, overloaded, or defective. If the seat stays high, inspect the release lever and cable alignment. A loose lever often creates a false cylinder problem. Wobbling usually points to an incomplete connection between the cylinder, mechanism, and base. My first diagnosis was wrong once: the new cylinder was fine, but the mechanism had a cracked mounting plate.

Do not cut, drill, heat, or open the cylinder. Pressurized parts can fail violently. The U.S. Consumer Product Safety Commission has repeatedly recorded office-chair recalls involving structural breakage and fall hazards, showing why load testing should be gradual. Check the chair again after one hour and after several days of use. A small creak is easy to dismiss, but it may deserve another inspection.

How to Replace an Office Chair Gas Lift Cylinder

Use the chair’s lowest, working, and highest seat positions to check whether the gas lift cylinder adjusts smoothly and holds its height. A chair that slowly sinks under normal load may have a worn cylinder and require replacement.

FAQS

What does an office chair gas lift cylinder do?

It adjusts seat height using compressed gas. Internal pressure may remain after movement stops. Treat it as pressurized equipment.

What safety actions are essential before replacement?

Clear the floor and unplug nearby equipment. Wear safety glasses and sturdy gloves. Use cardboard or padding beneath the chair.

Can I drill, cut, heat, or crush the old cylinder?

No. These actions can release stored pressure violently. Do not open the cylinder. Stop there.

Which tools are useful for removing the cylinder?

Prepare an adjustable wrench, pipe wrench, rubber mallet, gloves, and a small screw tray. Never strike the cylinder directly.

How should I remove a stuck cylinder?

Tap the chair base gently with a rubber mallet. Apply controlled pressure and keep fingers away from pinch points. If it remains stuck, seek qualified help.

How can I choose a suitable replacement cylinder?

Measure the old cylinder’s height range, mounting dimensions, and fittings. Similar-looking parts may fit poorly. Check carefully.

What should I inspect before installing the replacement?

Examine the five-star base, sockets, casters, and mounting plate. Replace cracked or bent parts instead of forcing new components.

How should I test the chair after installation?

Place it on a level floor. Raise and lower the seat several times. Sit gently and check wobbling, grinding, sudden drops, hissing, or leakage.

What do common testing problems indicate?

A sinking seat may indicate poor seating, overloading, or a defective cylinder. A loose lever can imitate cylinder failure. Wobbling may involve a cracked plate or incomplete connection.

When should I inspect the chair again?

Check it after one hour and again after several days. A small creak may seem harmless, but ignoring it can be a mistake.

Conclusion

This guide explains how to replace office chair gas lift cylinder safely and efficiently. It begins by introducing the purpose of the gas lift cylinder and highlighting important safety precautions, such as stabilizing the chair and handling the old cylinder carefully. Before starting, gather basic tools, clear a suitable workspace, and protect the floor from scratches or grease.

The replacement process covers removing the seat base, loosening the old cylinder, and separating it from the chair mechanism and base. The new cylinder should then be aligned correctly and firmly fitted into place without forcing the parts. After reassembling the chair, test its height adjustment, stability, and smooth movement. If the chair sinks, feels uneven, or makes unusual noises, check the cylinder’s alignment and all connections before using it.

Sienna

Sienna

Sienna is a skilled marketing professional with a deep expertise in our company’s core products and services. With a passion for innovation and detail, she plays a pivotal role in crafting insightful blog posts that not only highlight the unique features of our offerings but also provide valuable......